DIY Guide To Winter Car Repairs
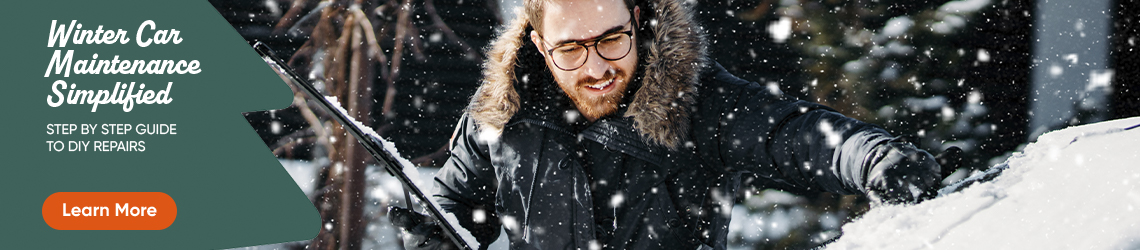
The DIY Winter Car Repair and Maintenance Guide
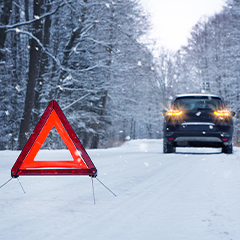
With winter taking up large portions of the year, it becomes imperative to maintain your vehicle during frigid temperatures to not only avoid being stranded but also to maximize vehicle life. The following list is curated to help you target the most prone parts of the vehicle during the winter months with a guide for replacing them. This ensures you have an eventless winter season.
In this article:
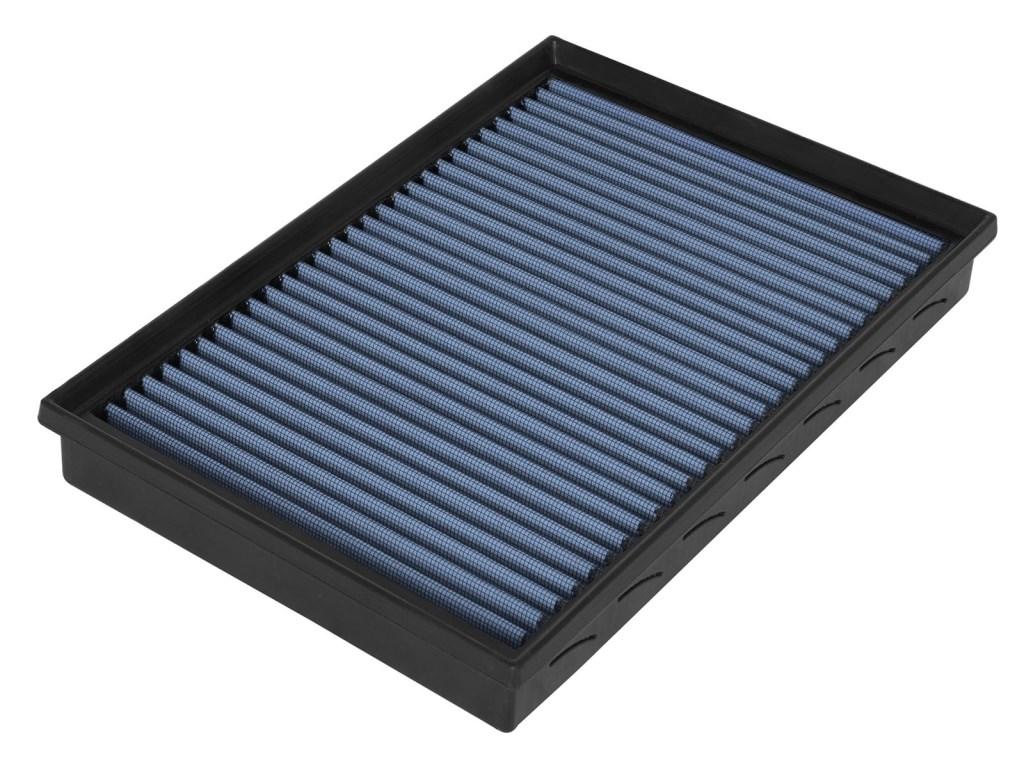
Air Filters

The air-fuel mixture is what determines the fuel economy of the car and the engine needs just as much air as fuel to maintain a steady and clean flow of air into the engine cylinders. It is necessary to have a clean air filter to stop unwanted particles from ruining your engine and its economy. These filters also have the ability to soak the moisture that may get into the cylinders which is a high possibility in the winter when the precipitation is high. Moisture is the engine's enemy and keeping it out is the job of the air filter hence getting a replacement before winter arrives would benefit the engine and avoid trouble down the road.
It’s fairly easy to replace the air filter as it is located right on top of the engine bay and requires no special tools to replace. Here's an easy guide to getting your air filter changed before the mercury drops:
Step 1: Turn the engine off and make sure the components under the hood are cold to the touch.
Step 2: Next step is spotting the air filter cover which is usually located on the top of the engine bay and is covered in a plastic casing with metal clips or screws.
Step 3: Take off the clips and/or screws and the old air filter is exposed.
Step 4: Remove the filter and with a clean dry cloth wipe the interior of the casing making sure no particles enter into the plenum.
Step 5: Place the new Air Filter and make sure it’s a snug fit in the opening.
Step 6: Close the casing and secure it with clips or screws.
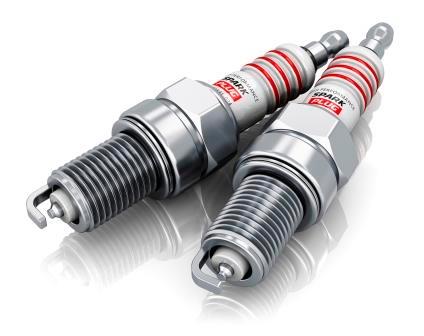
Spark Plugs
No matter how much horsepower your engine churns out, without the right spark plugs they cannot be delivered to your wheels. Spark plugs need to be replaced every 50000 km (30000 miles) or every year depending on your usage and failing to do so may prevent your engine from starting up. The spark plugs undergo constant heating and cooling cycles and are exposed to high pressure and temperatures in the combustion chamber and can get busted especially in winter conditions where the change in temperature is extreme causing spark plug failure and preventing engine start-up. Therefore, replacing the spark plugs before winter may help you get out of that freezing cold and into the warmth of your home the next time you are out in the freezing cold. Spark plug replacement may sound challenging but it is a straightforward job and only requires attention and a little patience.
Step 1: Turn off the engine and wait for a cooled-down engine bay.
Step 2: Finding the spark plug is a little tricky but can be easily spotted if you look for large rubber wires that are situated on the cylinder head and are the exact amount as the number of cylinders in your engine. For further clarification, you may refer to the service manual of the car.
Step 3: Depending on the type of ignition system you have, there may be ignition coils connected directly to the spark plugs or a wire that connects to them. The spark plug sits underneath these – threaded down to the cylinder head. The wire can be gently pulled out by shoving back and forth. To remove the ignition coils, undo the bolt securing them to the cylinder head, and gently pull out the coil pack.
Step 4: To undo the spark plug you require a spark plug socket and an extension attached to the ratchet.
Step 5: Replace the old spark plug with the new one and tighten it by hand and then with the ratchet but avoid over-tightening them as that may tear the rubber seals.
Step 6: Reinsert the coil or wires until they are firmly seated and do not show any play when wiggled.
Step 7: Repeat these steps for all the plugs making sure everything is seated correctly and tightened to the right extent.
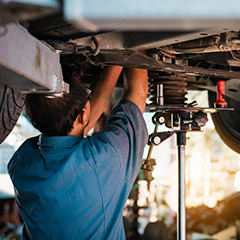
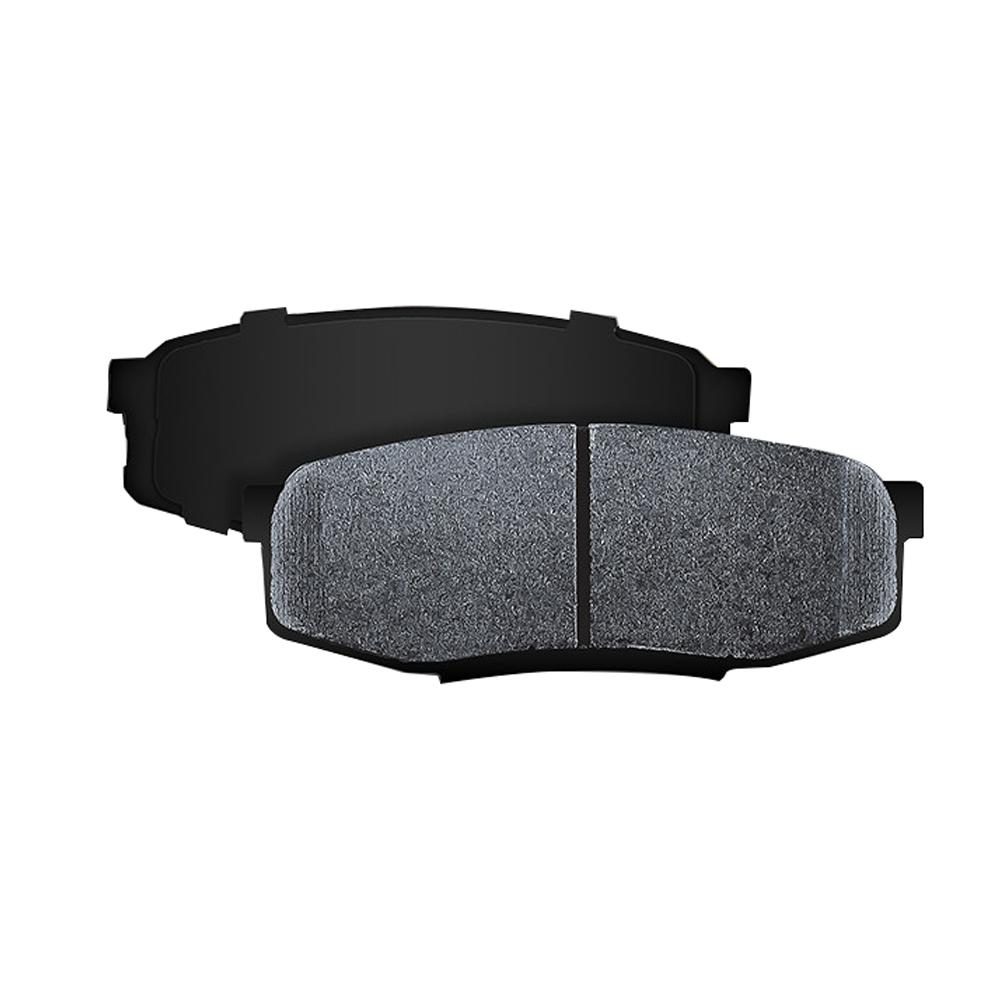
Brake pads
Driving on snow and wet roads can be challenging enough even for seasoned drivers. So it is important to make sure you give your vehicle a fighting chance with the right set of brake components. Having a fresh pair of brake pads will ensure your ABS system works properly and eliminates wheel spin and hydroplaning to its best extent, making your drive on snow, ice, black ice, and wet roads as safe as possible. Brake pad replacements can be a little complicated for a newbie but with the right help and a detailed guide you can attempt to do it yourself. Here is a step-by-step guide on how to install brake pads on your car that you can refer to.
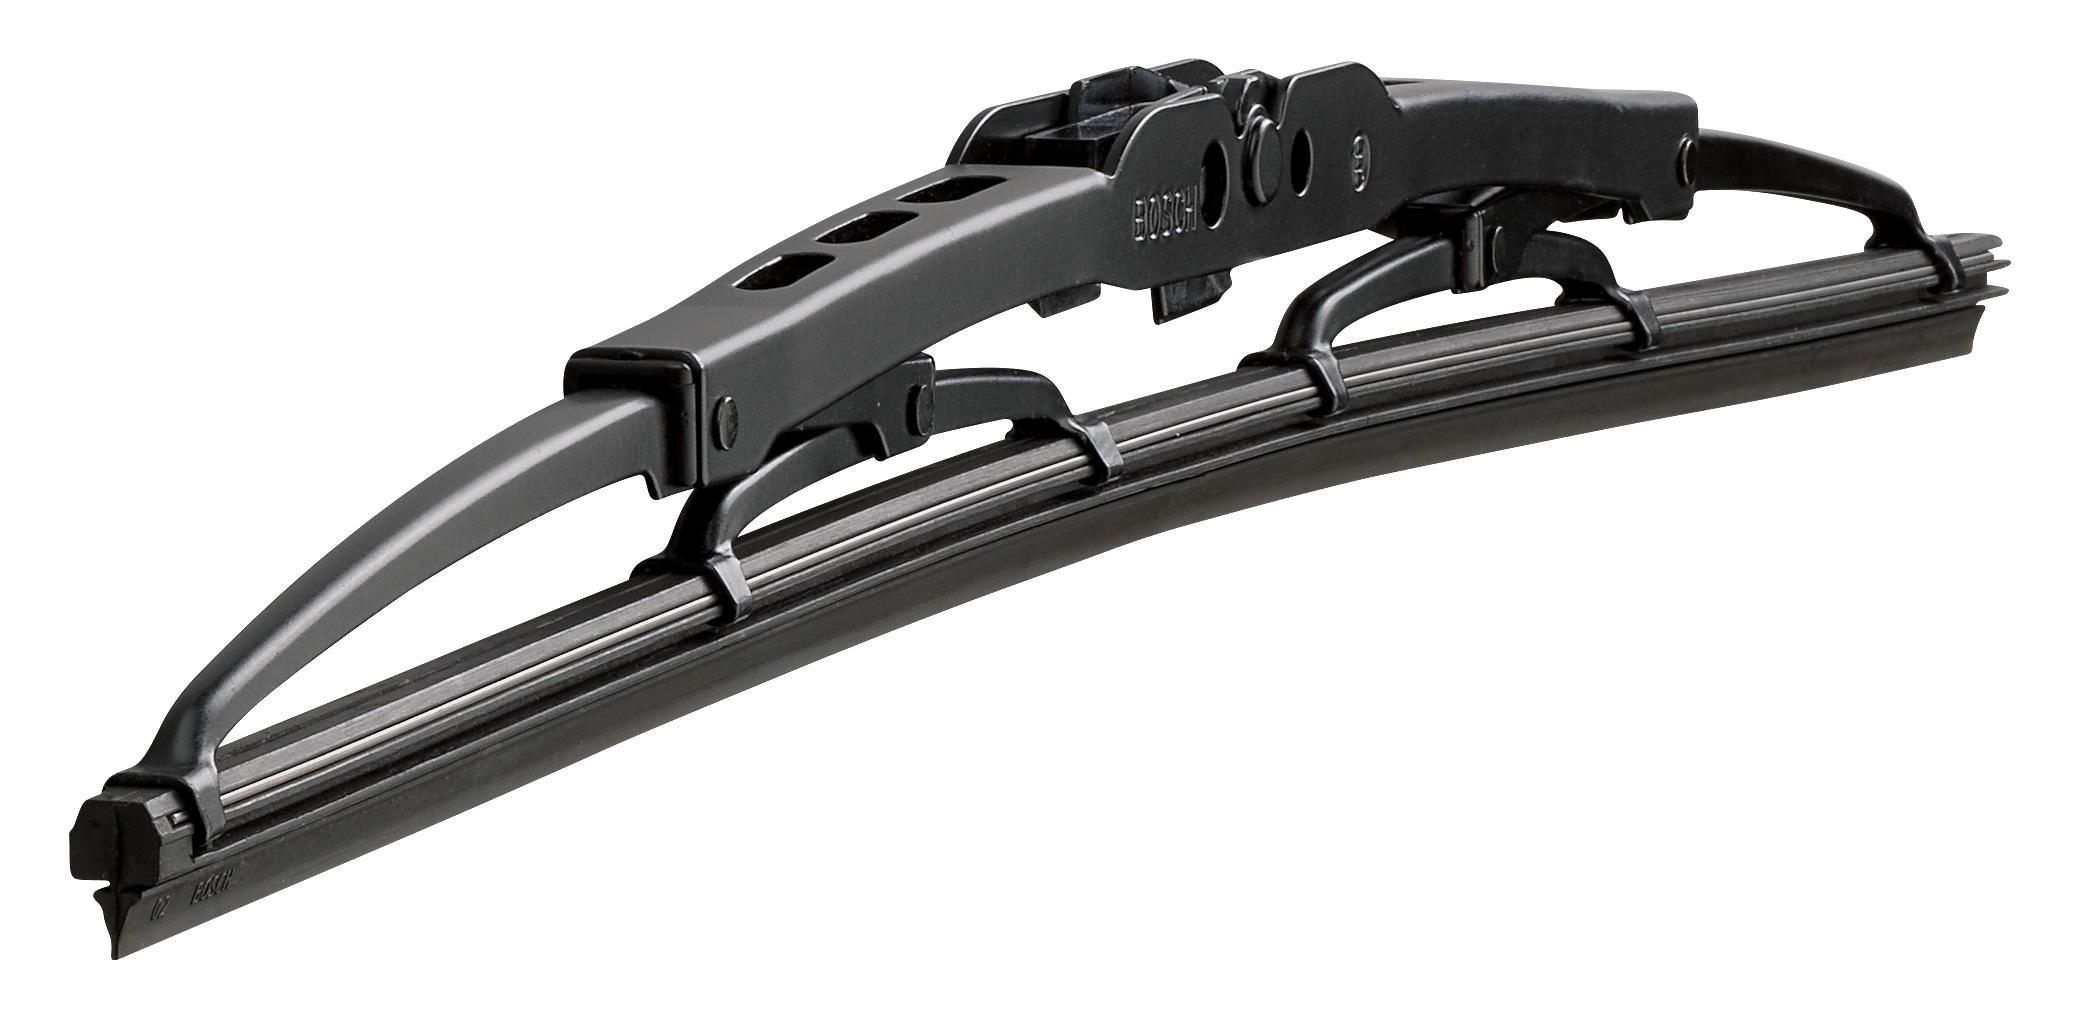
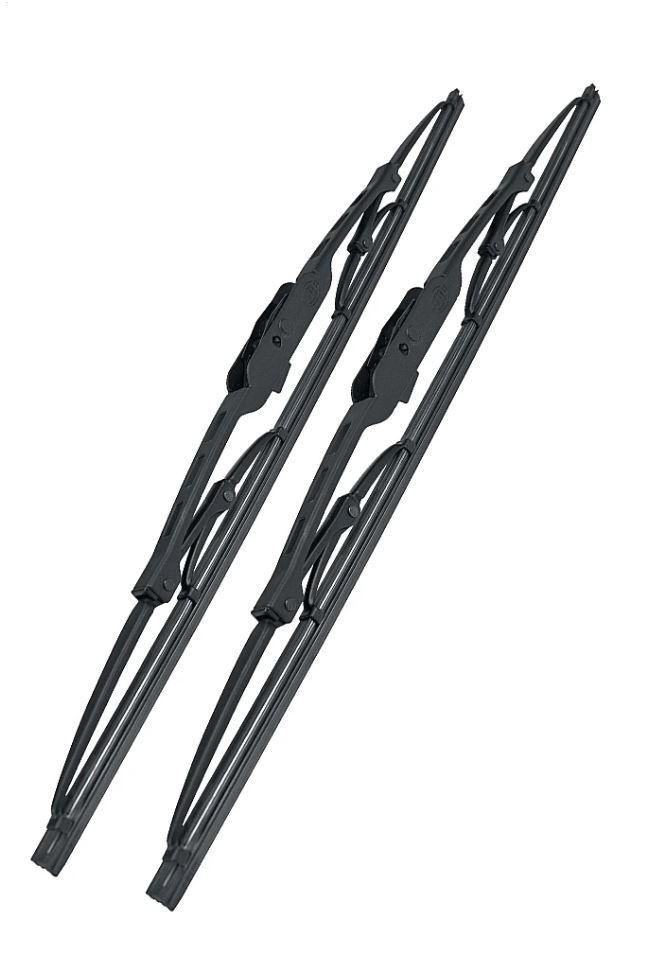
Wiper Blades / Winter blades

Wiper blades are used to rid the windshield of any dirt, water, snow, or splatter that can hinder the driver's vision, especially in monsoons or winter. The wiper blades are an important part of your car's safety feature and must be replaced regularly as they can prevent proper vision. In the winter snow and ice can clog up and freeze the wiper blade mechanism which may render it inefficient and can also damage the windshield. This is why for winter seasons, Winter Wiper Blades are recommended. Winter blades have a rubber lining that seals the inner structure of the blades from snow and ice preventing the freezing of the mechanism. During cold winter weather events, raising the blades off the windshield prevents them from freezing to it. Replacement of the wiper blades is a very easy task and can be attempted without any tools.
Step 1: Lift the driver’s side wiper blades up so that they are not resting on the windshield.
Step 2: The clip or tab is visible on the wiper arm. Disengage the clip or tab and the wiper blade should come right off.
Step 3: Insert the new wiper blade the same way the old one was removed. You will hear a click sound that certifies the blade is seated correctly.
Step 4: Repeat this process for the passenger side blade and the rear wiper blade if there is one.
Tire Air Pressure

The tire air pressure drops 1 psi for every 10℉ (5℃) degree drop in temperature and as the temperature secludes under the 0-degree mark, the tires lose enough pressure to cause a bulge in the side. Snow and wet driving require recommended tire pressure and hence one must always regularly check the tire air pressure to maintain proper road traction.
Checking the tire pressure on your car is as easy as refueling your tank. Follow these steps to learn your car's tire pressure:
Step 1: Park the car and undo the valve stem cap on the wheels.
Step 2: Grab a tire pressure gauge and press on the valve. This will show the tire pressure in the wheel.
Step 3: To determine the operational tire pressure of your car, refer to the tire air pressure plaque located on the door sill or find it in the owner’s manual.
Step 4: If the pressure is lower than the operating pressure of the tire, fill more air in using a compressor or find one at a local gas station.
Step 5: Once the tire pressure is correct redo the cap and the tire is ready to roll.
Tire Tread Depth
The tire tread is also important as it determines how effective the tires are on the road surface. A worn tire will not grip the road and so the handling, acceleration and braking will reduce dramatically. It is recommended to have at least 3 mm of tread depth on your tires and anything below that mark warrants a tire replacement.
With the tires inflated to the correct pressure, check the tread depth either using a tread depth gauge or with a coin like a toonie. Insert the prong end of the gauge between the tread and take a reading from the dial. If using a toonie then insert it within the tread of the tire at different intervals. If the rubber reaches the bear paws, then your tires are likely new. But if the silver end is completely visible then start shopping for new tires asap.
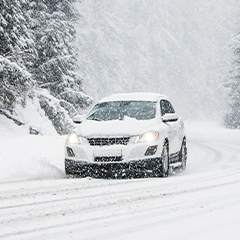
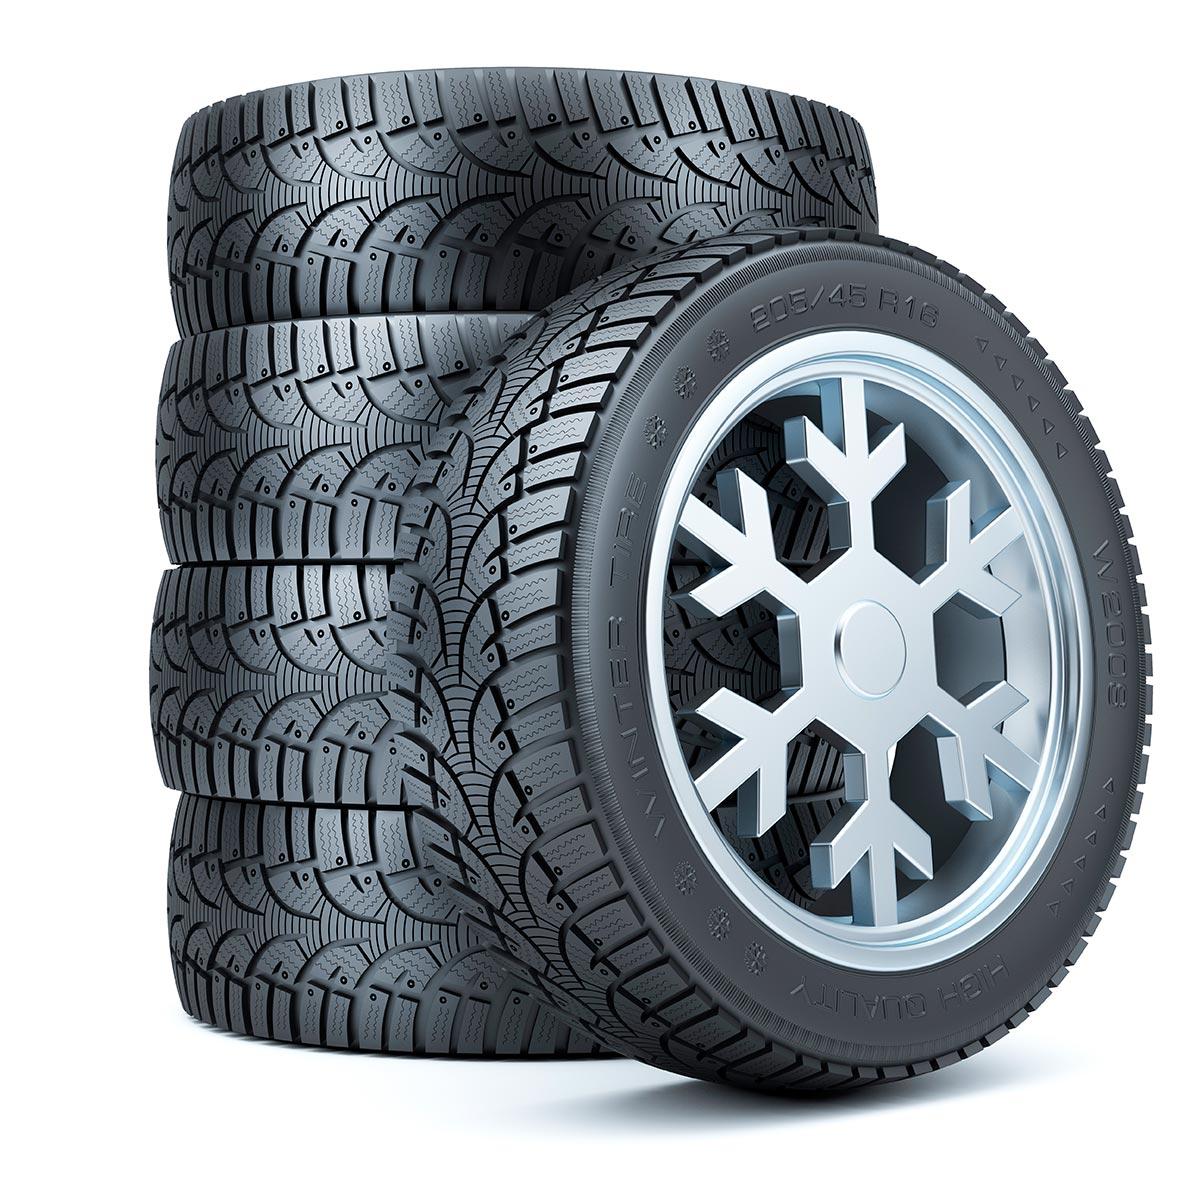
Winter Tires
Driving on snow and ice-covered roads is very challenging even for experienced drivers. This is because the traditional summer and even all-season tires are not designed to tackle snow and ice and so there is a lot of skidding and slipping involved which makes driving on such roads very difficult. But with Winter Tires, the tires gain a lot of traction or grip with the road surface which ensures the driver has better control over the vehicle and therefore makes riding safer and easier. Winter tires are specially designed for use on snowy, icy, slush roads so the driver has more confidence going over such road conditions and allows him/her to brake, accelerate and corner faster and safer.
Consider switching to winter tires when the temperature starts to trickle down for your family’s and vehicle’s safety. To get your tires changed to winter ones or go to your local mechanic and have your old tires removed and swapped for winter tires. Alternatively, you can buy a set of winter tire and wheel packages so that you don't have to remove and replace the tires every winter season.
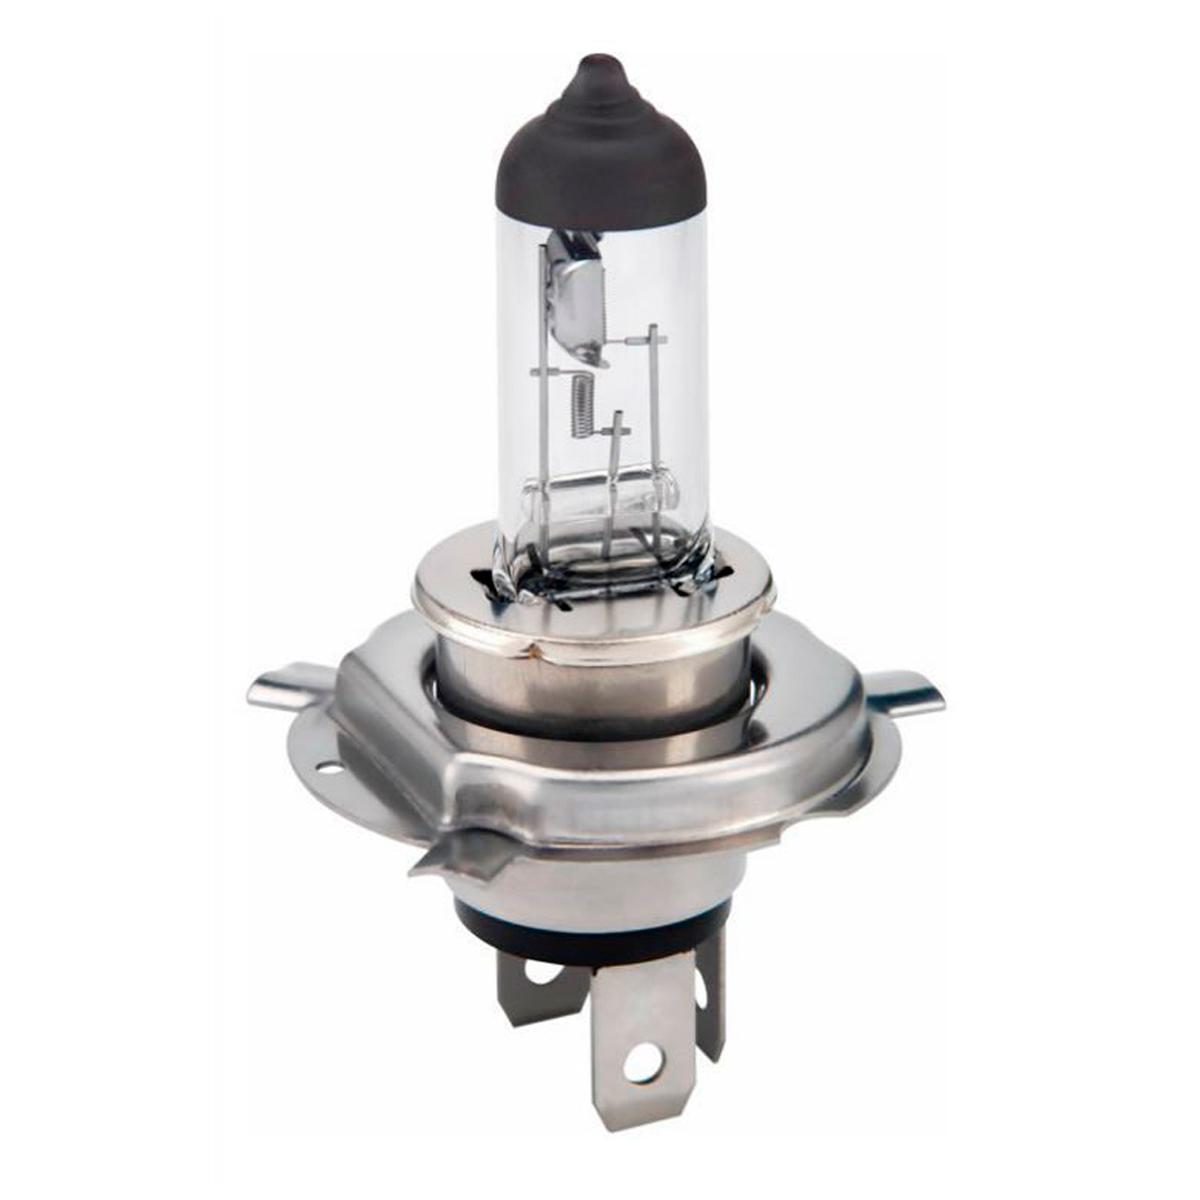
Vehicle Lighting
Daylight is drastically reduced during the winter months and so we must rely more on the lights on our vehicle for clear visibility. Having all functioning vehicle lights not only provides you with illumination but other road users and motorists can stay aware of your presence on the roads which decreases the chances of collisions. Winter weather is unpredictable with dense fogs and heavy snowstorms blocking the road view at any given moment. In such cases we must be prepared and having fully functioning lighting systems in the vehicle is very important.
Start by checking all the bulbs in the vehicle for damage and clean the lenses for better clarity. Park in a dim garage room or take help from another individual to confirm lights in the rear are working properly as you push the brake pedal. Switch on all the lights from indicator signal lights to brake lights. Replace any bulbs that don’t work immediately.
The replacement process will vary between vehicles. Usually, the procedure involves opening the hood or trunk lid, accessing the light bulbs after removing the screws for the lens and then removing and replacing the bulbs. Here’s an article for replacing tail light bulbs. The procedure for replacing bulbs is similar for headlights or any other lights in the car.
Buying Guides & Articles on Auto Parts
Articles and Guides written by auto parts experts to ensure you have all the required knowledge to make the correct purchase here at Parts Avatar.
Read all Guides & Articles