Everything You Need To Know About Car Radiator

Have you ever thought that why doesn’t a car engine overheat despite the generation of so much heat? The credit for maintaining the ideal temperature inside the engine goes to the car radiator. The radiator is one of the most important components of an automobile that accomplishes the analytical work of cooling down the engine’s temperature and helps it to perform optimally. If you want to know more about car radiators, then you have arrived at the right place. Keep on reading further.
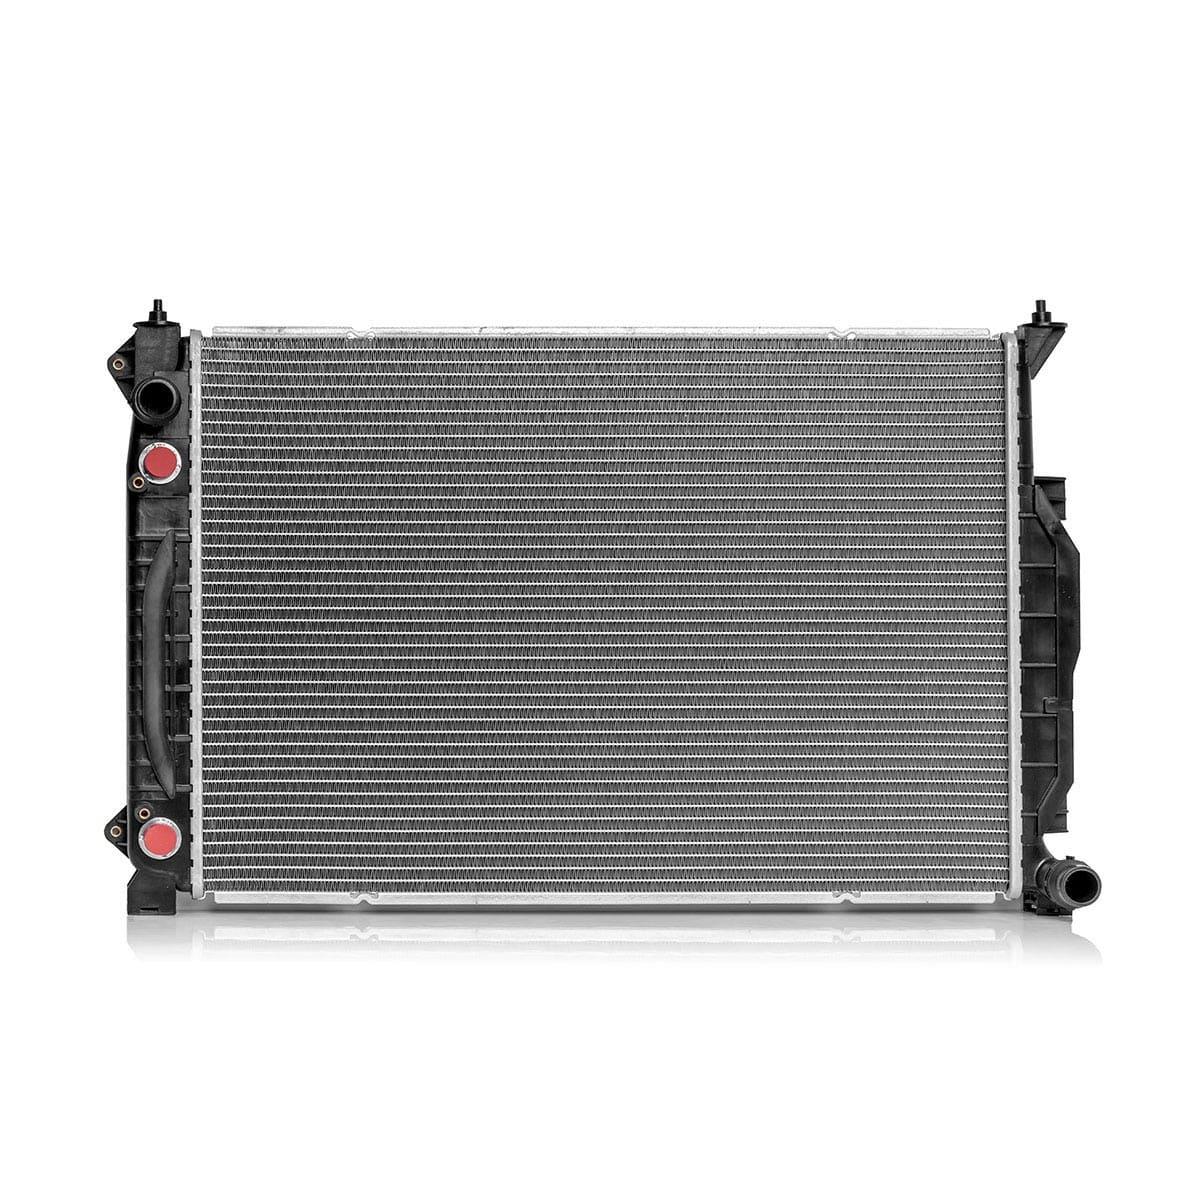
What Is A Car Radiator?
The radiator of a vehicle is very similar to the radiator of a house in its functionality. Its job is to remove the heat from the engine's coolant, helping to maintain the right temperature of the vehicle engine. When the hot coolant passes through the radiator, it gets cooled before it returns to the engine. It cools down the engine, getting hot again, and then the process continues.
Where Is The Car Radiator Located?
You will usually find the car radiator in the front of the engine bay. The radiator core support holds it in place. This core support is attached to the frame of your vehicle. The radiators are also kept in place by brackets and rubber bushings, which are attached to their top and bottom, respectively.
How To Choose The Right Car Radiator?
How Does My Car Radiator Work?
There are three simple processes involved in the workings of the Radiator:
1. Intake - Your vehicle's engine water pump produces a flow of the coolant. It basically allows the coolant to run in a specific direction, in and out of the radiator. The thermostat controls the quantity of the coolant that is going to flow out. It does this by opening and closing according to the vehicle's temperature needs. The engine coolant moves past the thermostat and enters the radiator via the upper hose. In the case of the downflow radiator, the coolant will enter an upper stand first and move down across the radiator body. In the cross-flow radiator, the coolant enters the side tank first and then flows sideways towards the other side of the radiator.
2. Cooling - After the coolant has entered the first tank, it will flow into tiny passes, which connect the two tanks. These passages are connected to rows of fine metal fins, which we can see from the outside of the vehicle, too. This gives it the distinct radiator look. Either copper or aluminium is the choice of material for these metal fins, they are used because they have high efficiency in conducting as well as transferring heat uniformly. When the coolant moves through these smaller tubes, the extra heat gets transferred into these metal fins. Air that comes in through the spaces between these fins by the motion of the car or by the vehicle engine cooling fan helps in cooling the engine by dispersing the heat from it. By this process, the build of heat at the engine is reduced and hence prevents in overheating of the engine.
3. Outlet - After the coolant has moved through all the cooling passages, it gets settled in a tank which is on the other side of the radiator. The coolant will remain here until it is taken into the outlet hose. This outlet hose is connected to the water pump and supplies the low-temperature coolant to the vehicle engine when the engine needs more cooling. Suction force from the water pump lets the outlet hose work, and so it typically is reinforced with a spring. This prevents it from collapsing and blocking the flow of the coolant.
What Are The Common Car Radiator Problems?
There are some problems one may face regarding the radiator, here are few mentioned below:
1. Failure of thermostat - The most common reason for a vehicle to overheat has something to do with the thermostat. Even though it is not a part of the radiator, it controls the coolant flow in and out of it. Hence, a faulty thermostat doesn’t allow flow of coolant and the engine overheats.
2. Leak in the radiator hoses - Introducing the most common source of coolant leak in the car’s cooling system; the radiator hoses. These are wear components, meaning they should be replaced periodically. Ignoring their condition can lead to coolant leaks, in moving from the engine to the radiator and back. They are prone to failure as they work all the time for the vehicle to maintain the right temperature.
3. Air trapped in the cooling system - Air can get trapped in the car’s cooling system. This, in return, restricts the flow of the coolant, reducing its efficiency. If you find your car is continuously running hot, bleed the cooling system of any possible air bubbles.
4. Leaks in the radiator - These are very difficult to locate or repair. Observe any bubbles or steam being emitted from the radiator. This is a signal of the coolant leak location; you may fix the radiator leak via a patch, but it’s a job that requires precision and may not always be successful.
5. Failure of the water pump - The coolant in your cooling system is moved by the action of the water pump. The water moves through the radiator, moves past the pump into the engine, and it is then forced back into the radiator. This circulation won’t happen if the water pump itself has failed. This will lead to overheating of the vehicle.
6. Obstructions in the cooling system - The cooling passages of the system may get blocked. This makes it difficult for the coolant to move through properly. It can also happen in the radiator and make it problematic for the radiator to transfer the heat efficiently. Bent fins of the radiator cooling fan can also cause these kinds of obstructions as an engine “scale”.
7. Failure of the radiator fan - The electric fan which pulls air through the radiator to keep the car cool is very important. It helps the car to maintain its engine temperature when it’s in idle mode or moving at low speeds. A problem with the fan can cause improper cooling to happen and can heat the car up when it’s in idle mode or moving slowly in traffic.
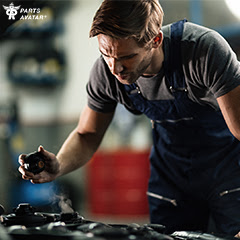
Which Tools Do I Need To Repair My Car Radiator?
It is said that a workman is only as good as his tools, and it is definitely true when it comes to the car bodywork. It is vital to have the right tools to repair your car radiator or else a straightforward job would turn into constant headaches. So that’s why we have listed out some invaluable tools below which you will need while repairing your car radiator.
Which Top Brand Car Radiator Should I Choose?
You won’t have to think a lot while purchasing if you are already using a particular car part brand and are fully satisfied with it. There are people who trust a specific brand and would go with it again with a minimum of thought. Here we have the best car radiator brands to help you out in choosing your favourite one in case you don’t have any. Have a look below and choose the best brand for your car radiator.
- Spectra Premium Industries Radiator And Parts
- Mishimoto Automotive Radiator And Parts
- Cooling Depot Radiator And Parts
- Various Manufacturers Radiator And Parts
- Denso Radiator And Parts
- Dorman/Help Radiator And Parts
- Gates Radiator And Parts
To know more about top brand car radiators, visit our “Top Car Radiator Brands Buying Guide” section.
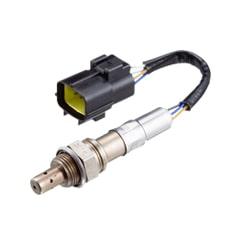
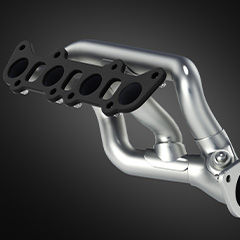
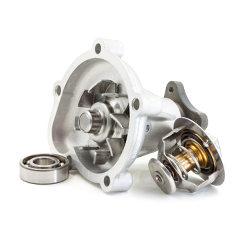
Which Parts Are Related To My Car Radiator?
Do you want to know what are the related parts of the car radiator? We are here to help you out. Have a look at car radiator related parts below:
What Are The Steps Of Changing My Car Radiator?
Here’s how you can change your vehicle's radiator:
Step 1 - Raise and support the vehicle. Jack up the vehicle to a safe height, place the wheel chock behind the rear wheels, and set the vehicle into the parking brake.
Step 2 - Drain the coolant from the radiator. Drain off all the car coolant from the radiator by opening the petcock valve, or you can opt for removing the lower radiator hose.
Step 3 - Disconnect the radiator reservoir hose. Depending on the design of the clamp, use the pliers or screwdriver to loosen the hose clamp. Now disconnect the hose by simply twisting and gently pulling it away from the radiator.
Step 4 - Remove the upper radiator hose. Loosen the hose clamps by pliers or a screwdriver. Then twist and remove the hose any pull it in the direction away from the connection.
Step 5 - Remove the lower radiator hose. Loosen the hose clamps using either pliers or a screwdriver. Which tool you will use will depend on the sign of the clamp. Once that is done, simply remove the hose by twisting it, draw it away from the connection.
Step 6 - Disconnect the cooling fan electrical connector. Push on the tab and pull back to be able to disconnect the cooling fan electrical connector.
Step 7 - Remove the cooling fan mounting bolts. Use an extension and socket of the correct size for removal.
Step 8 - After that, make sure to carefully remove the cooling fan.
Step 9 - Disconnect the transmission cooler lines. Using a flare nut wrench disconnect the transmission cooler lines from the radiator. This will help prevent rounding off the fittings.
Step 10 - Remove the radiator mounting bolts. Now use the wrench or ratchet and socket of the appropriate size to remove the radiator mounting bolts.
Step 11 - Remove the condenser mounting bolts. Use the same tools as in step 10 to remove the condenser mounting bolts.
Step 12 - Remove the radiator. Now it's time to carefully remove the radiator from the vehicle.
Step 13 - Mount the new radiator. Unpack and mount the new radiator into the position.
Step 14 - Install the condenser mounting bolts. It’s time to install the condenser mounting bolts and tighten them properly.
Step 15 - Continue the installation process by mounting bolts of the radiator. Use a wrench or ratchet and socket of the right size.
Step 16 - Connect the transmission cooler lines. Making use of a flare nut wrench simply connects the transmission cooler lines to the radiator.
Step 17 - Mounting the cooling fan. Mount the cooling fan back into its position.
Step 18 - Install the fan mounting bolts. The fan mounting bolts have to be installed next, use the same ratchet, extension and socket you had used to remove them.
Step 19 - Reinstall the connector. The cooling fan electrical connector will have to be reinstalled now.
Step 20 - Install the lower radiator hose. Carefully slide the hose into the connection and using the right tool slide the hose clamps into position too and tighten them down.
Step 21 - Install the upper radiator hose. Depending on the design of the clamp, use either pliers or screwdriver to assist the the hose onto the connection. Slide the hose onto the connection. Once they are in position, you can tighten them down.
Step 22 - Connect the radiator reservoir hose. Repeat the same step as 21 for the reservoir hose.
Step 23 - Fill the radiator with coolant. Now close the drain petcock as required and fill the radiator with fresh coolant.
Step 24 - Bleed the air from the car’s cooling system. You can do this by either opening the bleeder valve if it’s present or simply vacuum the cooling system vacuum.
Step 25 - Lower the vehicle. Now it’s time to get back the vehicle to the ground. Jack it up and remove the stands, lower it gently and remove the wheel chock.
If you are still confused about which type of car radiator you should buy, then you can visit our The Ultimate Radiator Buying Guide. You should always look for the warning signs of a bad radiator and replace them at the earliest you can. With us, you can find radiator at the most economical costs.
Buying Guides & Articles on Auto Parts
Articles and Guides written by auto parts experts to ensure you have all the required knowledge to make the correct purchase here at Parts Avatar.
Read all Guides & Articles